Braun Coffee Maker Instruction Manual: An Overview
Braun drip coffee makers offer flavorful brews with innovative features for precision. This manual guides you through setup, brewing, and maintenance of your Braun model.
Understanding Your Braun Coffee Maker Model
Braun offers a diverse range of coffee makers, including the BrewSense and MultiServe series, with models like KF9050BK, KF9070SI, KF9150WH, KF9150BK, and KF9170SI. Each model boasts unique features, from programmable timers to varying brew strengths and cold brew capabilities.
Identifying your specific model is crucial for accessing the correct instructions and support. Locate the model number, typically found on the underside of the appliance or in the original packaging. Knowing your model ensures you can utilize all its features effectively and find compatible replacement parts when needed. Certified models guarantee excellence in brewing performance.
Identifying Key Components
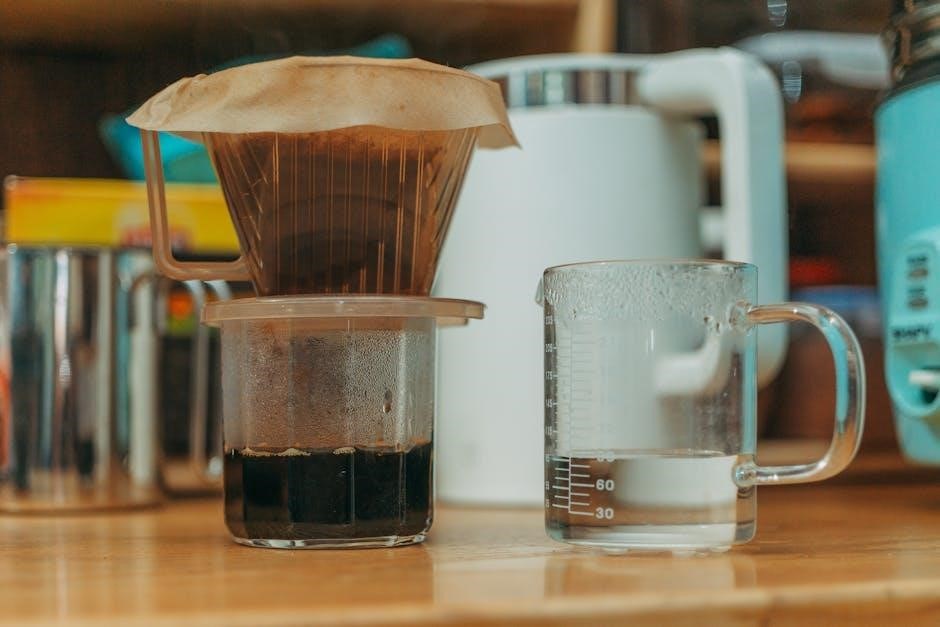
Your Braun coffee maker consists of several essential parts. These include the water reservoir, crucial for holding the water used during brewing; the filter basket, where you place the coffee filter and grounds; and the carafe, which collects the brewed coffee.
Other key components are the control panel, featuring buttons for power, brew strength selection, and programming; the spray head, distributing water evenly over the grounds; and the warming plate, keeping the coffee warm after brewing. Familiarizing yourself with these parts will aid in proper operation, cleaning, and troubleshooting, ensuring optimal performance and longevity of your appliance.

Setting Up Your Braun Coffee Maker
Proper setup involves initial cleaning, understanding water reservoir and filter usage, and ensuring all components are correctly assembled before the first brew.
Initial Cleaning and Preparation
Before your first brew, thoroughly clean your Braun coffee maker to remove any manufacturing residue. Remove all packaging materials, including any stickers or labels. Wash the carafe, filter basket, and removable parts with warm, soapy water. Rinse them completely and dry with a soft cloth.
Run a full brewing cycle with water only – without coffee grounds – to flush out the system. This initial cycle helps to prime the machine and ensures a fresh, clean taste for your first pot of coffee. Discard the water after the cycle completes. Repeat this process once more for optimal cleanliness. Your Braun coffee maker is now prepared for brewing!
Water Reservoir and Filter Usage
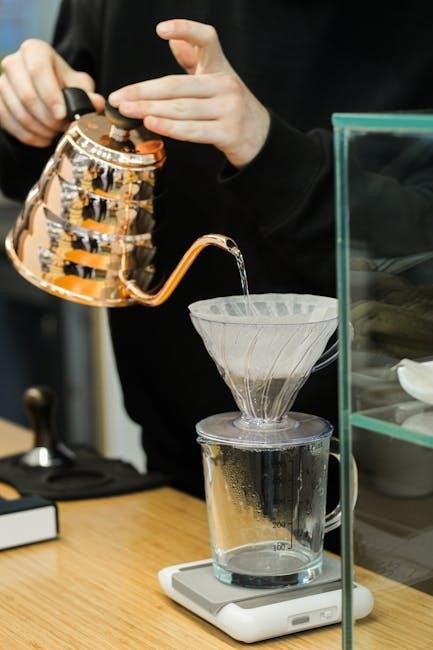
The water reservoir on your Braun coffee maker is designed for easy filling. Use fresh, cold, filtered water for the best tasting coffee. Fill the reservoir to the desired level, referencing the water level markings for accurate brewing quantities.
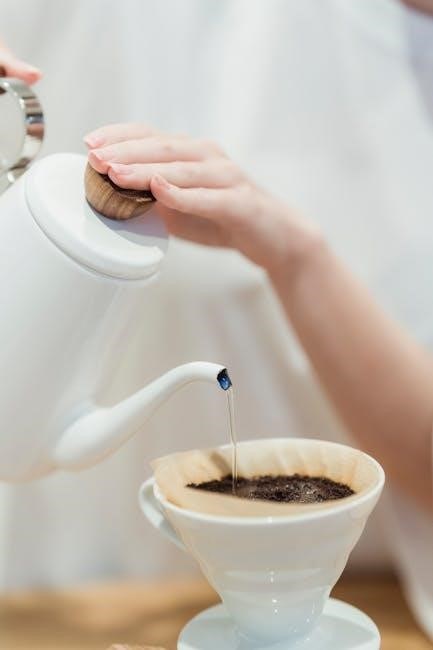
Braun coffee makers utilize paper filters. Place a standard cone-shaped paper filter into the filter basket before adding coffee grounds. Ensure the filter is properly seated to prevent grounds from overflowing. Some models may also support reusable filters – consult your specific model’s instructions. Never operate the coffee maker without a filter in place.

Brewing Coffee with Your Braun Machine
Braun coffee makers deliver consistently excellent results. Follow these simple steps to brew coffee, adjusting strength and size to your personal preference for enjoyment.
Adding Coffee Grounds
Before initiating the brewing process, ensure your Braun coffee maker is properly prepared. Open the filter basket, typically located at the top or front of the machine, depending on your specific model – KF9050BK, KF9070SI, or others.
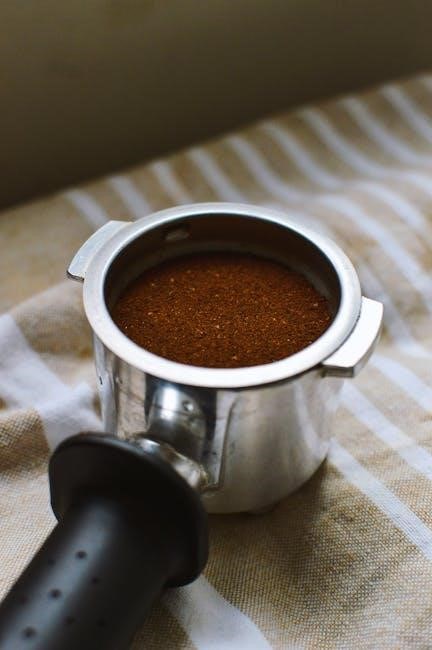
Insert a paper filter into the basket, ensuring it sits securely. The amount of coffee grounds you add will determine the strength of your brew. A general guideline is one to two tablespoons of ground coffee per six ounces of water.
Adjust the quantity based on your taste preferences. For a bolder flavor, use more grounds; for a milder brew, use less. Once measured, carefully pour the coffee grounds into the filter, ensuring they are evenly distributed. Close the filter basket securely before proceeding to the next step.
Selecting Brew Strength and Size
Many Braun coffee makers, like the MultiServe Plus Coffee Maker (0X13211093) and models KF9050BK, KF9150WH, offer customizable brewing options. Locate the brew strength selector – often labeled “Mild,” “Medium,” or “Bold” – and choose your desired intensity.
For a larger batch, utilize the carafe markings to determine the number of cups you wish to brew. Some models allow you to directly select the cup size (e.g., 6, 8, 10, or 12 cups).
Ensure the water reservoir is filled to the corresponding level for your chosen cup size. Refer to your specific model’s instructions for precise measurements. Properly setting these parameters ensures optimal flavor extraction and a satisfying coffee experience.
Starting the Brewing Cycle
Once coffee grounds are added and brew strength/size are selected, initiate the brewing process; Typically, a power button or “Brew” button will start the cycle. On models like the KF9050BK, a clear indicator light illuminates during operation.
Allow the Braun coffee maker to complete the full brewing cycle without interruption. Avoid removing the carafe mid-brew, as this may cause spills or disrupt the process.
The machine will automatically stop brewing once complete. Some models feature an automatic keep-warm function to maintain coffee temperature. Enjoy your freshly brewed coffee! Refer to your specific model instructions for any unique operational details.

Advanced Features & Functions
Braun coffee makers boast programmable timers and automatic shut-off features for convenience and safety, enhancing your brewing experience with customized settings.
Programmable Timer Settings
Braun coffee makers with programmable timers allow you to wake up to freshly brewed coffee. To set the timer, access the ‘Program’ or ‘Timer’ button on your model’s control panel. Use the hour and minute buttons to input your desired brewing start time.
Ensure the coffee maker is filled with water and grounds before setting the timer. The timer function will automatically initiate the brewing cycle at the programmed time. Some Braun models allow for multiple timer settings, offering flexibility for different schedules. Refer to your specific model’s instructions for detailed programming steps, as button layouts and functionalities may vary. Properly setting the timer ensures a convenient and consistent coffee experience.
Automatic Shut-Off Function
Braun coffee makers are equipped with an automatic shut-off function for enhanced safety and energy conservation. This feature automatically turns off the coffee maker after a period of inactivity, typically between two to four hours after brewing is complete.
The duration of the shut-off period can vary depending on the specific Braun model. This function prevents overheating and potential hazards, providing peace of mind. While the automatic shut-off is a safety measure, it’s advisable not to rely on it as a primary safety device. Always unplug the coffee maker when not in use for extended periods. Refer to your model’s manual for the precise shut-off time and any override options.
Maintenance and Cleaning
Regular cleaning ensures optimal performance and longevity of your Braun coffee maker. Descaling and cleaning removable parts are crucial steps for quality brews.
Descaling Your Coffee Maker
Over time, mineral deposits from water can build up inside your Braun coffee maker, affecting brewing performance and coffee taste. Descaling removes these deposits, ensuring optimal functionality. Fill the water reservoir with a descaling solution – you can use a commercially available descaling agent or a mixture of white vinegar and water (follow product instructions for ratios).
Run a full brewing cycle without coffee grounds. After the cycle completes, discard the descaling solution and rinse the reservoir thoroughly with fresh water. Repeat the brewing cycle two to three times with fresh water only to remove any residual descaling solution or vinegar taste. Regular descaling, typically every 3-6 months depending on water hardness, will keep your Braun coffee maker operating efficiently and delivering delicious coffee.
Cleaning Removable Parts
Regular cleaning of your Braun coffee maker’s removable parts is crucial for hygiene and maintaining coffee quality. After each use, wash the carafe, filter basket, and any other detachable components with warm, soapy water. Ensure all soap residue is thoroughly rinsed away.
Most removable parts are dishwasher safe, but always check your specific model’s instruction manual for confirmation. For stubborn stains in the carafe, a mixture of baking soda and water can be effective. Dry all parts completely before reassembling. Pay close attention to the spray head, ensuring it’s free from coffee ground buildup. Consistent cleaning prevents the buildup of oils and residue, contributing to a fresher tasting brew.
Troubleshooting Common Issues
This section addresses typical problems with your Braun coffee maker, such as it not turning on or brewing issues, offering quick solutions.
Coffee Maker Not Turning On
If your Braun coffee maker fails to power on, begin with the basics. Ensure the unit is securely plugged into a functioning electrical outlet. Test the outlet with another device to confirm it’s providing power.
Next, verify the coffee maker’s power cord isn’t damaged. Inspect it for any visible cuts or fraying. If the cord appears faulty, discontinue use and contact Braun customer support for a replacement.
Also, check if the coffee maker has an automatic shut-off feature that may have been activated. Some models feature a reset button; consult your specific model’s instructions. If these steps don’t resolve the issue, professional repair may be necessary.
Brewing Process Problems
Experiencing issues during the brewing cycle? First, confirm the water reservoir is adequately filled and properly seated. Ensure the filter basket is correctly inserted and contains a suitable filter. Incorrect filter placement can cause overflows or slow brewing.
If coffee drips slowly or not at all, descaling might be needed – mineral buildup restricts water flow. Check that the coffee grounds aren’t packed too tightly, as this also hinders water passage.
For models with programmable features, verify the settings are correct. A faulty brew strength selection or incorrect timer setting could lead to unexpected results. If problems persist, consult the troubleshooting section specific to your Braun model.
Braun Coffee Maker Model List & Resources
Braun offers diverse coffee makers like KF9050BK and KF9150WH. Find specific instructions and spare parts by searching your appliance’s model number.
KF9050BK, KF9070SI, KF9150WH, KF9150BK, KF9170SI Models
These newly certified Braun MultiServe Coffee Maker models – KF9050BK, KF9070SI, KF9150WH, KF9150BK, and KF9170SI – boast enhanced features for optimal brewing. They are designed for versatility, offering options like regular, bold, and even cold brew.
Users can expect consistent performance and quality coffee from these machines. Detailed instructions regarding water reservoir filling, filter usage, and cleaning procedures are crucial for maintaining peak functionality. Refer to the complete instruction manual for model-specific guidance. Proper descaling is also vital to ensure longevity and prevent mineral buildup, impacting brew quality. Explore resources for troubleshooting common issues specific to these models.
Finding Specific Model Instructions
Locating the correct instruction manual is essential for your Braun coffee maker. Searching by your appliance’s complete model number ensures compatibility and accurate guidance. You can efficiently filter available resources by entering any consecutive part of your model number into the search box provided by Braun’s support network.
This targeted search helps avoid confusion and provides instructions tailored to your specific machine. Online databases and the official Braun website are excellent starting points. Remember that different models may have varying features and operational procedures, so precise identification is key to optimal performance and safe operation.