
RV Slide Out Repair Manual: A Comprehensive Guide
Navigating RV slide-out issues demands a detailed manual; common problems include motor failures, leaks, and misalignment.
Troubleshooting requires understanding hydraulic and electrical systems.
Understanding RV Slide Out Systems
RV slide-out systems dramatically increase living space, but understanding their mechanics is crucial for effective repair. These systems generally fall into three categories: Schwintek, hydraulic, and electric/gear driven. Schwintek systems utilize a rack and pinion design with electric motors, known for being relatively lightweight. Hydraulic systems employ pressurized fluid to extend and retract the slide, offering substantial lifting capacity. Electric/gear systems use a motor and gears for movement.
Knowing your specific system type is the first step in diagnosis. Weight distribution is also vital; exceeding limits can cause operational issues. Regular inspection and lubrication are key preventative measures, ensuring smooth and reliable slide-out function throughout your travels.
Common RV Slide Out Problems
RV slide-outs frequently encounter issues ranging from minor inconveniences to major malfunctions. A common problem is the slide-out failing to extend or retract, often stemming from battery failure, motor issues, or track misalignment. Hydraulic systems can suffer from leaks or low fluid levels, hindering operation. Partial extension or retraction is another frequent complaint, potentially indicating alignment problems or sensor failures.
Motor failures, particularly in Schwintek systems, are relatively common. Misalignment can cause binding and excessive wear. Regular inspection can reveal potential problems before they escalate, saving costly repairs and travel disruptions.

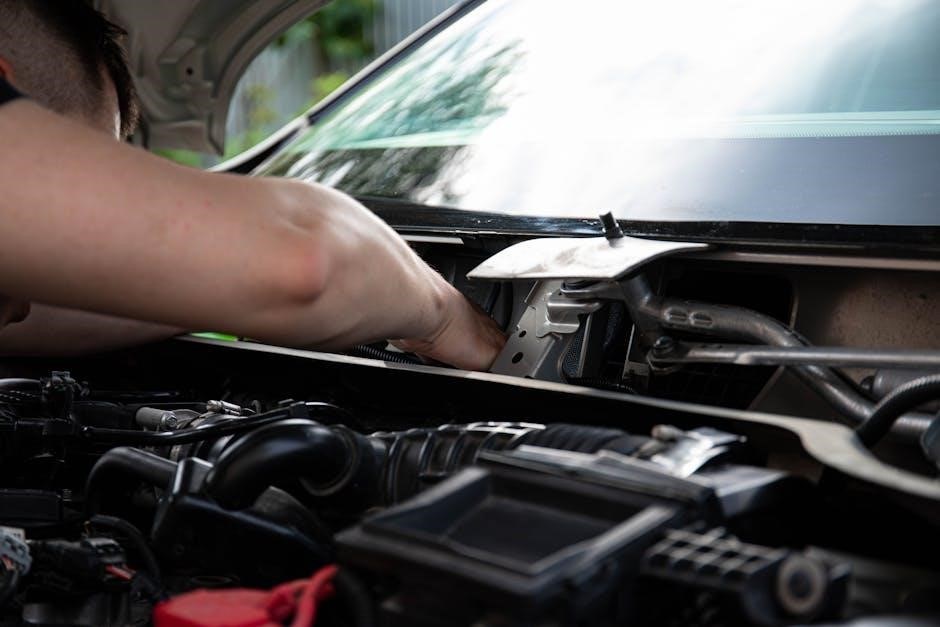
Diagnosing Slide Out Issues: A Step-by-Step Approach
Begin by verifying power supply – check batteries and related fuses. Next, visually inspect the slide-out for obvious obstructions or damage to the tracks and seals. Listen for unusual noises during operation, which can indicate motor or gear problems. If hydraulic, check fluid levels and look for leaks along the lines and at the pump.
Attempt to manually operate the slide (if possible) to assess resistance. Use a multimeter to test electrical components. Document all findings; this detailed approach streamlines the repair process and helps pinpoint the root cause efficiently.
Schwintek Slide Out Motor Replacement
Schwintek systems utilize a unique drive mechanism, often requiring full motor assembly replacement rather than individual component fixes. Begin by disconnecting power and carefully removing the interior trim panels to access the motor. Disconnect the wiring harness, noting its orientation for reassembly.
Remove the old motor, then install the new one, ensuring proper alignment with the slide-out’s gear system. Reconnect the wiring harness and test the operation. Nabtesco, the original manufacturer, provides robust, albeit specialized, components for these systems. Proper installation is crucial for smooth, reliable function.
Identifying a Faulty Schwintek Motor
Diagnosing a failing Schwintek motor involves observing slide-out behavior. Listen for unusual noises – grinding, clicking, or a complete lack of sound during operation. A common symptom is a slide-out that extends or retracts slowly, unevenly, or only partially.
Check for error codes displayed on the control panel, if equipped. Battery voltage should be verified, as low voltage can mimic motor failure. Visually inspect the motor for any signs of physical damage. A dead battery can often present as a motor issue, so rule that out first before proceeding with motor replacement.
Schwintek Motor Replacement Procedure
Begin by disconnecting power to the slide-out system. Remove the access panel covering the motor. Carefully detach the old motor, noting the wiring configuration for reassembly. Install the new Schwintek motor, ensuring proper alignment with the slide-out mechanism.
Reconnect the wiring, referencing your notes or photos taken during disassembly. Test the slide-out operation, observing for smooth and even movement. If issues persist, double-check wiring connections and motor alignment. Proper installation is crucial for optimal performance and to prevent further damage.
Hydraulic Slide Out System Troubleshooting
Addressing hydraulic slide-out issues starts with a thorough inspection. Begin by checking the hydraulic fluid reservoir level; low fluid is a common culprit. Next, meticulously examine all hydraulic lines and fittings for any visible leaks – even small drips can indicate a significant problem.
If leaks are found, identify the source and address it promptly. A failing hydraulic pump can also prevent proper slide operation. Listen for unusual noises during operation, which may signal pump issues. Remember safety first; relieve system pressure before disconnecting any lines.
Checking Hydraulic Fluid Levels
Maintaining correct hydraulic fluid levels is crucial for smooth slide-out operation. Locate the hydraulic reservoir, typically near the pump. With the slide-out fully retracted, check the fluid level using the reservoir’s dipstick or sight glass. Ensure the RV is on a level surface for an accurate reading.
The fluid should be within the “full” range indicated on the reservoir; If low, add the manufacturer-recommended hydraulic fluid, avoiding overfilling. Regularly monitoring fluid levels – perhaps monthly – can prevent operational issues and extend the life of your hydraulic system. Always consult your RV’s manual for specific fluid type.
Identifying Hydraulic Leaks
Detecting hydraulic leaks promptly prevents significant damage and operational failure. Begin by visually inspecting all hydraulic lines, fittings, and the pump for any signs of fluid residue. Pay close attention to areas where lines connect or bend. Look for wet spots on the ground beneath the slide-out mechanism.
A failing seal or loose fitting often causes leaks. Carefully follow the lines from the reservoir to the slide-out cylinders. If a leak is found, tighten the fitting if possible. If the leak persists, replacement of the line or seal is necessary. Remember safety glasses are crucial during inspection!
Electrical Issues Affecting Slide Outs
Slide-out operation heavily relies on a stable electrical system. Common issues include battery failure, blown fuses, and wiring problems. A weak or dead battery can prevent the slide-out from moving, even with a functional motor. Always check battery voltage and connections before proceeding with further diagnostics.

Inspect the slide-out’s dedicated fuse or circuit breaker; a tripped breaker or blown fuse is a simple fix. Wiring problems, such as corroded connections or damaged wires, can interrupt power flow. Carefully examine all wiring associated with the slide-out mechanism for damage or loose connections.
Battery Failure and Slide Out Operation
A depleted or failing battery is a frequent cause of slide-out malfunctions. Slide-out motors require significant power, and a weak battery struggles to provide it, resulting in slow movement or complete failure. Before investigating other potential issues, verify the battery’s charge level using a voltmeter.
Ensure battery terminals are clean and securely connected. Corrosion can impede electrical flow. Consider testing the battery’s load-bearing capacity; a battery may show a full charge but lack the amperage needed for the slide-out motor. If the battery consistently fails to hold a charge, replacement is necessary.

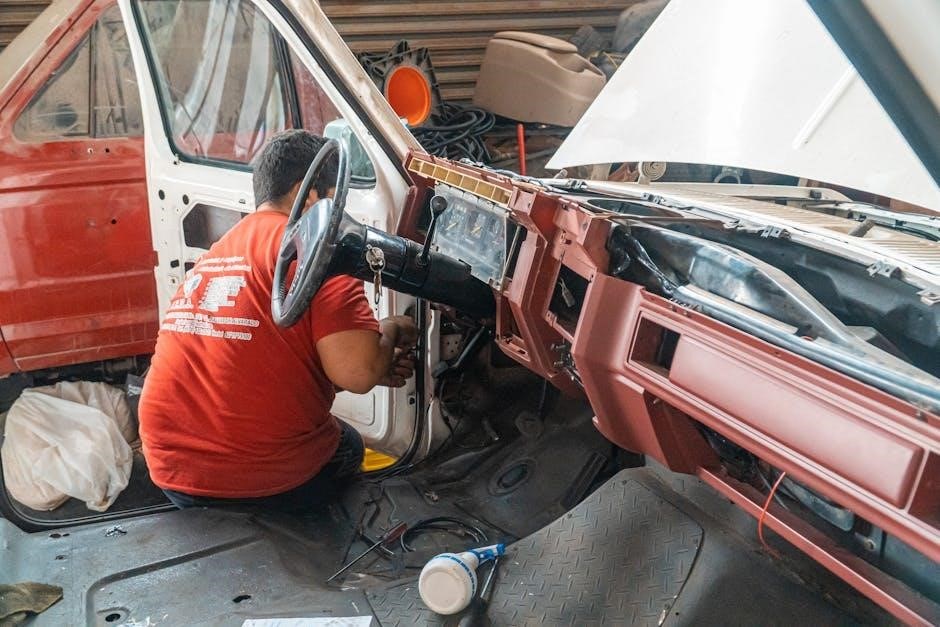
Wiring Problems and Troubleshooting
Faulty wiring can disrupt the power supply to the slide-out motor, causing operational issues. Begin by visually inspecting the wiring harness for any signs of damage, such as frayed wires, corrosion, or loose connections. Pay close attention to areas where the harness bends or passes through the RV’s frame.
Use a multimeter to test for continuity along the wiring, identifying any breaks or shorts. Check the slide-out’s dedicated fuse or circuit breaker; a blown fuse indicates an overload or short circuit. Carefully examine all connections, ensuring they are tight and secure. Repair or replace damaged wiring as needed.
Slide Out Alignment Problems
Misalignment manifests as difficulty extending or retracting the slide-out, binding, or uneven gaps around the perimeter. Recognizing these symptoms early prevents further damage. Inspect the slide-out’s tracks and rollers for obstructions or wear. Check the alignment of the slide-out room with the RV’s exterior wall; significant gaps indicate a problem.
Adjustment often involves loosening mounting bolts and carefully shifting the slide-out until it’s properly aligned. Tighten the bolts once alignment is achieved. For stubborn cases, professional assistance may be required to avoid damaging the slide-out mechanism or the RV’s structure.
Recognizing Misalignment Symptoms
Identifying slide-out misalignment is crucial for preventing costly repairs. Common signs include difficulty fully extending or retracting the slide, requiring excessive force. Uneven gaps appearing between the slide-out wall and the RV’s body are a clear indicator. Listen for unusual noises – grinding, scraping, or binding – during operation.
Visually inspect the slide-out for any signs of rubbing or contact with the RV’s exterior. A partially extended or retracted slide-out, unable to reach its full range, also suggests misalignment. Prompt attention to these symptoms can prevent further damage to seals, tracks, and the slide mechanism itself.
Adjusting Slide Out Alignment
Correcting slide-out misalignment often involves adjusting the rollers or slides. Begin by carefully examining the slide-out mechanism for any obstructions or damaged components. Loosen the mounting bolts on the slide’s outer rails, allowing for slight movement. Gently adjust the slide until even gaps are visible on all sides.
Retighten the bolts incrementally, continuously checking alignment. For Schwintek systems, adjustments are typically made via the slide’s inner wall. If significant misalignment persists, professional assistance is recommended to avoid further damage. Always consult your RV’s specific manual for detailed instructions.
Preventative Maintenance for RV Slide Outs

Regular maintenance is crucial for preventing costly slide-out repairs. Inspect seals frequently for cracks or damage, applying a suitable RV sealant to maintain a watertight barrier. Lubricate slide rails and mechanisms at least twice yearly, using a recommended RV lubricant to ensure smooth operation.
Periodically check for loose hardware and tighten as needed. Avoid exceeding weight limits, as this strains the system. Before long journeys, visually inspect the entire slide-out assembly. Consistent preventative care significantly extends the life and reliability of your RV’s slide-out systems.
Weight Limits and Slide Out Operation

Understanding and adhering to weight limits is paramount for safe and reliable slide-out operation. Exceeding these limits places undue stress on motors, rails, and the overall structure, leading to premature failure. Consult your RV’s owner’s manual for specific weight capacities for each slide-out room.
Distribute weight evenly within the slide-out to avoid imbalances. Avoid storing heavy items exclusively in slide-out compartments. Regularly assess the load and adjust as necessary. Ignoring weight restrictions can result in significant damage and costly repairs, compromising the integrity of your RV.
Choosing the Right Slide Out for Your RV
Selecting the appropriate slide-out configuration is crucial during RV purchase or customization. Consider your travel style and space requirements. Full-wall slide-outs maximize interior space but can be more complex to repair. Smaller slide-outs offer convenience with potentially fewer maintenance concerns.
Research the slide-out mechanism – Schwintek, hydraulic, or gear-driven – understanding their respective strengths and weaknesses. Factor in long-term maintenance costs and potential repair complexity. Prioritize quality construction and reputable brands to minimize future issues. A well-chosen slide-out enhances your RV experience.

RV Slide Out Lubrication
Regular lubrication is vital for smooth slide-out operation and preventing costly repairs. Utilize recommended lubricants – silicone-based sprays are generally preferred, avoiding petroleum-based products that can damage seals. Key lubrication points include slide-out rails, gears (for gear-driven systems), and pivot points.
Apply lubricant sparingly, wiping away excess to prevent dirt accumulation. Inspect wiper seals and apply a silicone-based protectant to maintain flexibility. Consistent lubrication reduces friction, minimizing stress on motors and extending the life of the slide-out mechanism. Schedule lubrication as part of your routine RV maintenance.
Recommended Lubricants
Selecting the correct lubricant is crucial for RV slide-out longevity. Silicone-based sprays are widely recommended due to their compatibility with rubber seals and plastic components, preventing damage and cracking. Avoid petroleum-based lubricants as they can degrade seals over time, leading to leaks and malfunctions.
Specific products like Super Lube Silicone Grease or 303 Aerospace Protectant are popular choices. Dry PTFE lubricants are also effective, reducing friction without attracting dirt. Always check your RV manufacturer’s recommendations for specific lubricant types. Proper lubrication ensures smooth operation and prevents costly repairs.
Lubrication Points and Procedures
Key lubrication points include the slide-out rails, both upper and lower, and any visible gears or moving parts within the mechanism. Extend the slide-out partially to access all areas effectively. Apply lubricant sparingly, focusing on areas of contact and friction. Wipe away any excess to prevent dirt accumulation.
For Schwintek systems, lubricate the inner and outer rails. Hydraulic systems require checking and potentially lubricating the ram seals. Repeat this process at least twice a year, or more frequently in dusty or harsh environments. Regular lubrication minimizes wear and tear, ensuring smooth and reliable slide operation.
Dealing with Partially Extended/Retracted Slide Outs
A partially extended or retracted slide-out often signals a mechanical or electrical issue. Do not force the slide; this can cause significant damage. First, check for obstructions – debris, or items pressing against the slide. Inspect the area for any visible damage to the rails or mechanism.
Attempt to manually operate the slide using the emergency release (consult your RV’s manual). If unsuccessful, disconnect power and seek professional assistance. Ignoring this issue can lead to costly repairs. Prioritize safety and avoid attempting complex fixes without proper knowledge.
Resources for RV Slide Out Repair
Finding reliable resources is crucial for successful RV slide-out repair. Online RV forums, like iRV2.com, offer valuable insights from experienced owners facing similar issues. Manufacturer websites often provide detailed diagrams and troubleshooting guides specific to your model.
YouTube channels dedicated to RV maintenance, such as those from RV technicians, demonstrate repair procedures visually. Consider an RV repair manual tailored to your RV’s make and model. For complex problems, locate certified RV technicians specializing in slide-out systems; their expertise ensures safe and effective repairs.
Safety Precautions During Slide Out Repair
Prioritizing safety is paramount when repairing RV slide-outs. Always disconnect the RV’s power source – both shore power and the battery – before commencing any electrical work. Support the slide-out securely with appropriately rated stands to prevent accidental collapse during maintenance or component replacement.
Wear safety glasses and gloves to protect against debris and potential chemical exposure. If working with hydraulic systems, relieve pressure before disconnecting lines. Be mindful of pinch points and moving parts. If unsure about any procedure, consult a qualified RV technician.